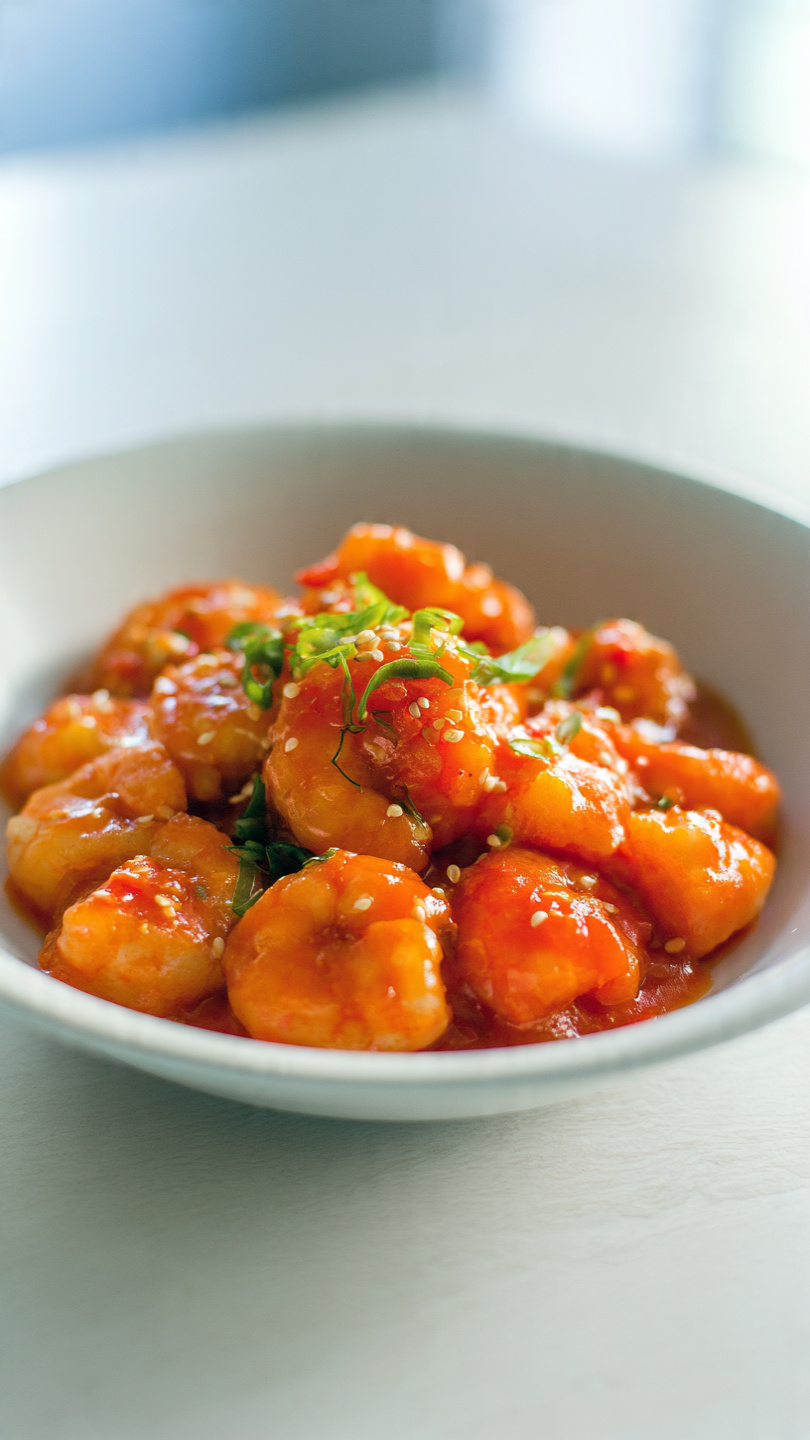
Sweet and Sour Shrimp
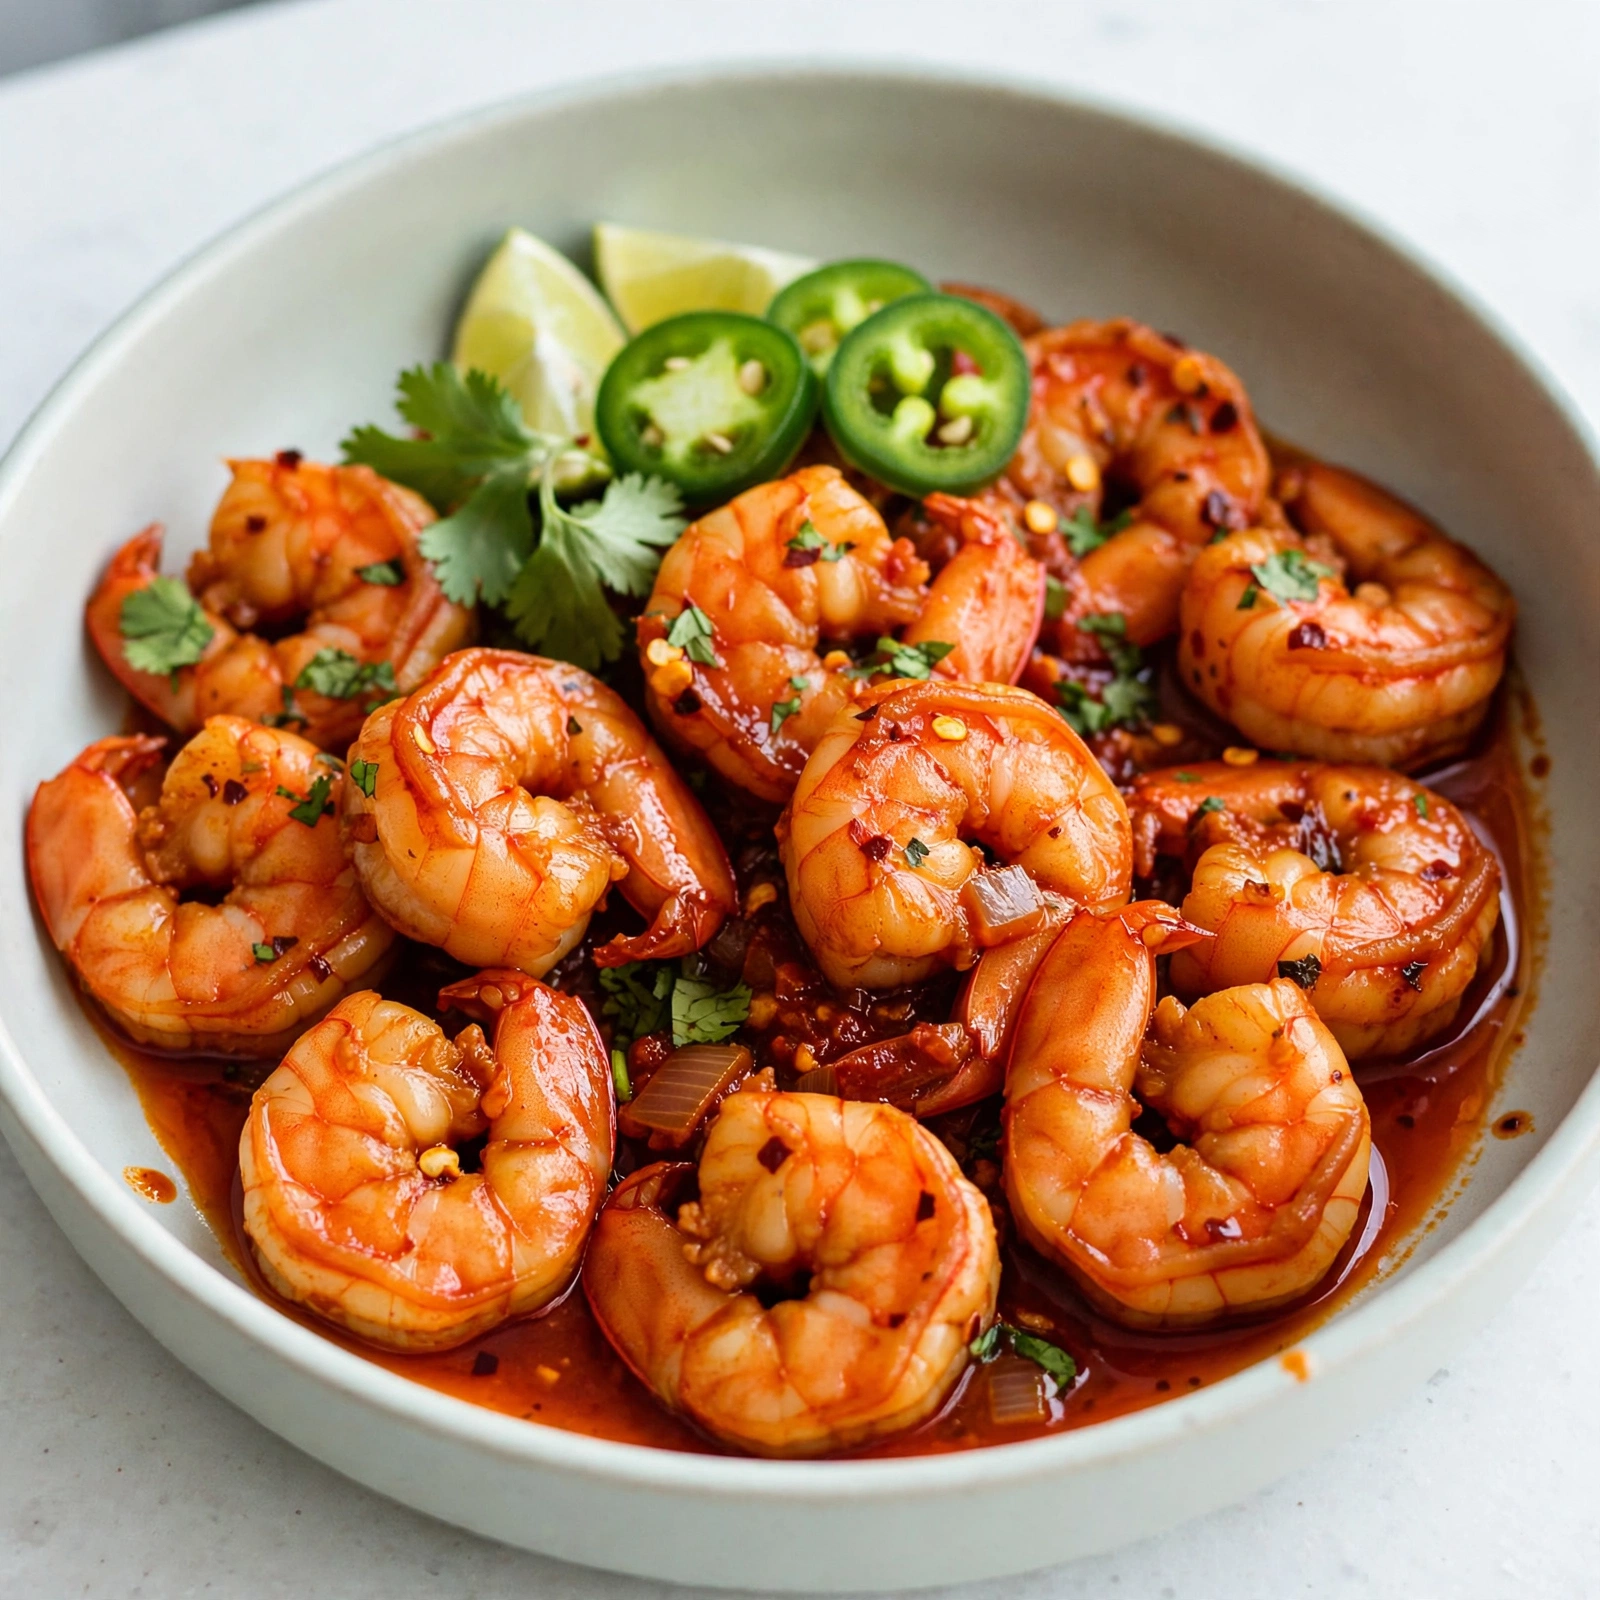
This Sweet and Sour Shrimp is a quick, restaurant-worthy stir-fry loaded with juicy shrimp, crisp vegetables, and a sticky, tangy-sweet sauce that beats takeout every time.

The Sweet and Sour Shrimp You Will Make on Repeat
If you have ever found yourself craving that glossy, tangy, perfectly balanced sweet and sour seafood dish from your favorite takeout spot, this recipe is about to change your weeknight dinner game completely. This Sweet and Sour Shrimp comes together in under 35 minutes, uses one pan, and produces a sauce so good you will want to put it on everything.
The magic is in the balance. Too sweet and the dish becomes cloying. Too sour and it loses its crowd-pleasing appeal. This recipe hits that perfect middle ground with a combination of rice vinegar, ketchup, pineapple juice, and just enough brown sugar to round everything out. Paired with crisp bell peppers, juicy pineapple chunks, and plump seared shrimp, every bite is genuinely exciting.
Why This Sweet and Sour Shrimp Recipe Works
There are a few things that separate a truly great sweet n sour shrimp from a mediocre one, and they are all about technique.
First, dry your shrimp. This is the single biggest mistake home cooks make. Wet shrimp steam in the pan instead of searing, and you lose that lightly golden, slightly crisp exterior that makes the texture irresistible. A quick press with paper towels makes all the difference.
Second, coat in cornstarch. A light dusting before the shrimp hit the pan creates a thin, delicate crust that not only adds texture but also helps the sauce cling to every single piece.
Third, cook hot and fast. Shrimp are done in 2 to 3 minutes. A screaming hot wok or skillet is your best friend here. It gives you color and flavor without turning your shrimp rubbery.
Chef's Tip: Remove the shrimp from the pan the moment they curl into a loose "C" shape and turn pink. If they curl into a tight "O," they are overcooked. It happens fast, so stay close.
The Best Tools for a Shrimp Stir-Fry
The right pan genuinely transforms this dish. For sweet and sour fried shrimp and any stir-fry, you want a pan that heats quickly, retains that heat under a full load of ingredients, and has enough surface area to sear rather than steam. A carbon steel wok or a wide cast iron skillet are the gold standard choices for getting restaurant-quality results at home.
Breaking Down the Sweet and Sour Sauce
This sauce is the heart of the recipe, and the good news is that it is made entirely from pantry staples. Here is what each ingredient brings to the table:
- Ketchup: Provides the tomato base, sweetness, and that classic deep-red color
- Rice vinegar: Adds a clean, bright acidity that is milder and more nuanced than white vinegar
- Soy sauce: Brings savory depth and umami that rounds out the sweetness
- Brown sugar: Adds warmth and a subtle molasses note that plain sugar cannot replicate
- Pineapple juice: Ties the tropical fruit element directly into the sauce and balances the acidity
- Cornstarch: Thickens everything into that gorgeous, glossy consistency you want coating every piece of shrimp
Whisk it all together in a bowl before you start cooking. Having the sauce ready to pour means you are never scrambling mid-stir-fry.
Choosing Your Shrimp
For sweet and sour shrimp, size matters. You want large or jumbo shrimp (21 to 30 count per pound) so they hold up to the high heat and do not disappear into the sauce. Fresh shrimp is wonderful when you have access to it, but good-quality frozen shrimp that has been properly thawed and dried works just as beautifully.
Tails on or off is a personal call. Tails on looks more dramatic and restaurant-worthy on the plate. Tails off makes eating easier, especially if you are serving this over rice to kids or at a casual dinner party.
Note: If you are buying shell-on shrimp, factor in some extra prep time for peeling and deveining. A good shrimp deveiner tool makes this a 5-minute job instead of a frustrating one.
Variations and Swaps to Try
One of the best things about this sweet sour shrimp recipe is how adaptable it is once you have the sauce dialed in.
- Add heat: Toss in a teaspoon of chili garlic sauce or a pinch of red pepper flakes for a spicy-sweet version
- Swap the protein: Chicken, firm tofu, or salmon all love this sauce
- Change the vegetables: Snow peas, broccoli florets, carrots, or water chestnuts are all great additions
- Make it lighter: Serve over cauliflower rice or steamed bok choy instead of white rice
Ready to pull this together? Here is the full recipe with every detail you need:
Sweet and Sour Shrimp
This Sweet and Sour Shrimp is a quick, restaurant-worthy stir-fry loaded with juicy shrimp, crisp vegetables, and a sticky, tangy-sweet sauce that beats takeout every time.
Ingredients
- 1 1/2 lb large shrimp, peeled and deveined, tails on or off
- 1 cup pineapple chunks, fresh or canned, drained
- 1 red bell pepper, cut into 1-inch pieces
- 1 green bell pepper, cut into 1-inch pieces
- 1/2 yellow onion, cut into 1-inch chunks
- 3 tbsp cornstarch, divided
- 3 tbsp vegetable oil, divided
- 3 garlic cloves, minced
- 1 tsp fresh ginger, grated
- 3/8 cup ketchup
- 1/4 cup rice vinegar
- 2 tbsp soy sauce, low-sodium preferred
- 3 tbsp brown sugar, packed
- 1/4 cup pineapple juice, from the can or fresh
- 1 tsp sesame oil, toasted, for finishing
- 1/2 tsp salt
- 1/4 tsp black pepper, freshly ground
- 1 tsp sesame seeds, for garnish, optional
- 2 green onions, thinly sliced, for garnish
Instruction
Pat the shrimp completely dry with paper towels. Season with salt and pepper, then toss with 2 tablespoons of cornstarch until evenly coated. Set aside.
In a small bowl, whisk together the ketchup, rice vinegar, soy sauce, brown sugar, pineapple juice, and remaining 1 tablespoon of cornstarch until smooth. Set the sauce aside.
Heat a large wok or skillet over high heat until very hot. Add 2 tablespoons of vegetable oil and swirl to coat. Add the shrimp in a single layer and sear for 1 to 2 minutes per side until pink, lightly golden, and just cooked through. Transfer to a plate and set aside.
Add the remaining 1 tablespoon of oil to the same pan. Add the onion and bell peppers and stir-fry over high heat for 2 to 3 minutes until they are slightly tender but still have a good crunch.
Add the garlic and ginger and stir-fry for 30 seconds until fragrant.
Add the pineapple chunks and toss everything together for 1 minute.
Pour the sauce over the vegetables and stir constantly as it comes to a boil and thickens, about 1 to 2 minutes.
Return the cooked shrimp to the pan and toss to coat everything in the glossy sauce. Drizzle with sesame oil and remove from heat.
Garnish with sliced green onions and sesame seeds. Serve immediately over steamed white rice.
Equipment
- Large wok or 12-inch skillet
- Small mixing bowl
- Whisk
- Tongs or spatula
- Paper towels
- Cutting board and knife
Notes
Serving and Storing Your Sweet and Sour Seafood
This dish is best served immediately, straight from the pan while the sauce is still glossy and the vegetables have their snap. A bed of fluffy steamed jasmine rice is the classic and ideal base, soaking up every drop of that tangy sauce.
For leftovers, store in an airtight container in the refrigerator for up to 2 days. Reheat gently in a skillet over medium-low heat with a splash of water to loosen the sauce back up. Avoid the microwave if possible since it tends to make shrimp tough and unevenly heated.
Whether you are making this for a fast weeknight dinner or impressing guests on a Friday night, this sweet and sour shrimp delivers every single time. Once you see how easy it is to make at home, takeout will start feeling like a lot of unnecessary effort.